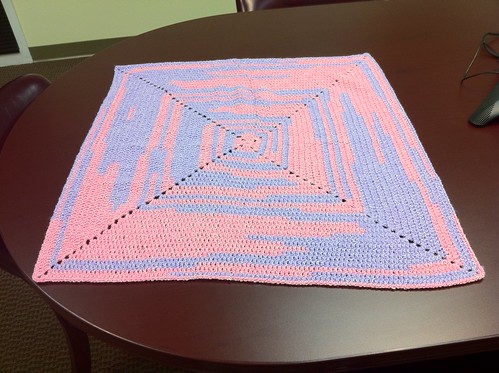
This is made using a tight granny square pattern. I'm not sure if this pattern has a name. It is a variation on the granny square though.
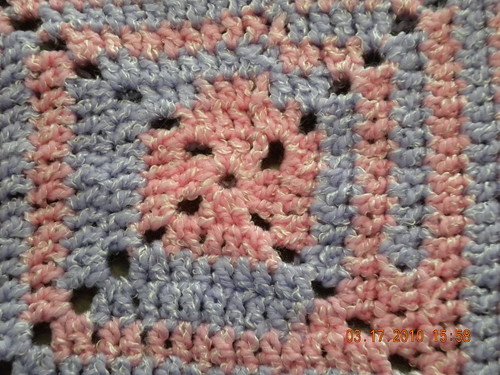
You can see from the above picture that I used a basic square pattern to start and just kept working the rounds. It's a pink/purple variegated yarn that changes from shimmering pink to shimmering purple. Although I have to admit the picture above does make it look a little blue-ish.
I don't have photos of the step by step process, but I'm going to try and include instructions here.

Hook –
H (US 4.75mm)
Legend –
DC – US Double Chain
HDC - US Half-Double Chain
SC - Single Chain
R-SC - Reverse Since SC
SL – US Slip Stitch
CH – US chain stitch
CH. 4 and join with a Sl Stich
Rnd 1: CH 3 (counts as a DC). (2DC, CH 3) and then (3DC, CH 3) 3 times. Join with a SL (12DC total)
Rnd 2: CH 3 (counts as first DC). DC in each of the next 2 DC. In the CH 3 sp – (2DC, CH 3, 2DC). DC in each DC around. Join with a SL. (28 DC total)
Rnd 3: CH 3 (counts as first DC). DC in each of the next DC. In the CH 3 sp – (2DC, CH 3, 2DC). DC in each DC around. Join with a SL. (44 DC total)
Repeat Rnd. 3 until you have the width desired. I don’t know how big or small baby blankets are supposed to be so I created 30 RNDs.
Border: I like to just create decreasing rows so I go from DC to HDC to SC to finish off. Probably imperceptible to the recipient but it’s my little thing.
Brd 1: CH 2 (counts as first HDC). HDC in each DC. I the CH 3 sp – (2HDC, CH 3, 2HDC). DC in each DC around. Join with a SL
Brd 2: CH 1. SC in each HDC around. In the CH 3 sp – (2SC, CH 1, 2SC). SC in each DC around. Join with a SL.
Weave in all the ends.
I didn't do this for this particular blanket but I usually finish my projects using a R-SC border. This is actually the final row I like to use as a border in a lot of my projects. I think a reverse SC adds a nice ribbed looking border to a project.
Optional Brd 3: CH 1. R-SC in the last SC of the round you just completed. R-SC all the way around. In the CH 3 sp - 5RSC (no Ch 3 stitches this time). Join with a SL.
For detailed instructions on creating a R-SC, watch this video.
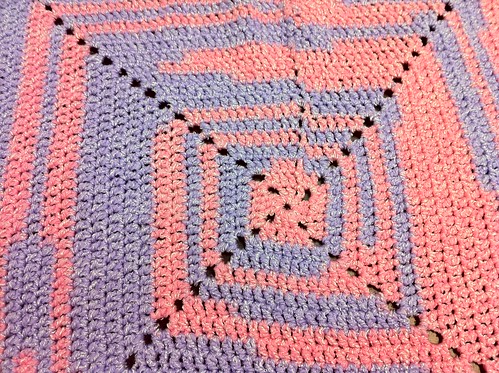
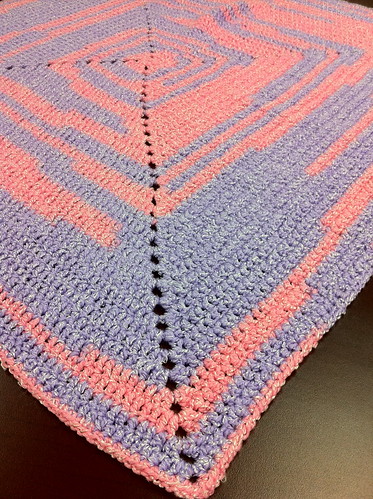
Below are two more pictures of the finished blanket close in.
No comments:
Post a Comment
Tell Me What's on Your Mind