Here's a sneak peak at a new ornament I'm working on.
I meant to create a hexagon but ended up with a polygon -- Whee!
I want to incorporate some beads into the border. As soon as I figure that out I'll join it and write up the instructions.
In the meantime, here's the beginning of the project.
Sunday, December 19, 2010
Thursday, December 16, 2010
Christmas Goodness
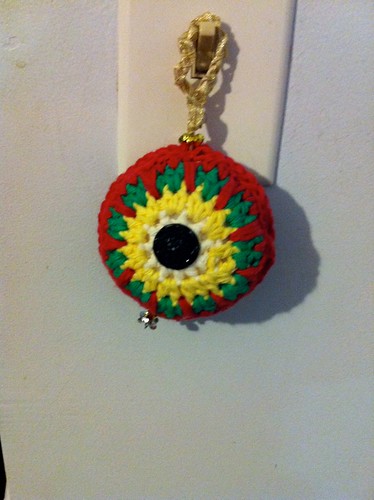
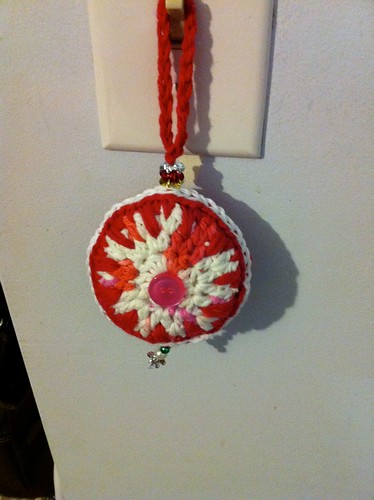
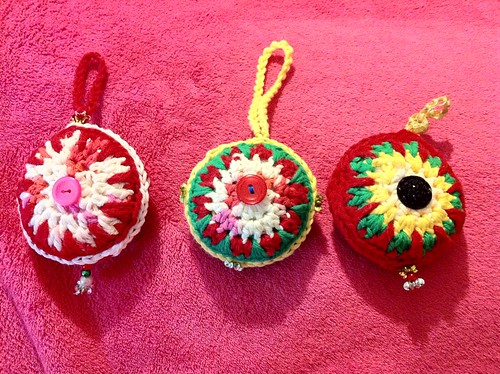
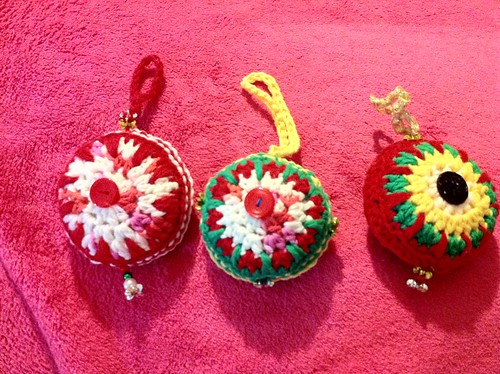
I decided this year to create some crafts Christmas. One of my favorite craft bloggers Attic24 posted some Christmas Baubles on her site that I couldn't resist making. I stuck to her pattern without too many variations. I think my only variations is in the hanging loop and how I stitched on my beads. Below are my photos. I'm really pleased with these. I'll be giving them to my 2 bosses and my office manager as Christmas gifts.

The bottons on this one are recycled from an old blouse. They're really pretty buttons but I'm not sure they come through on the photo.

I forgot to take front/back photos of this ornament. The front button is pink. The back button is red. No reason. Just didn't have two matching red buttons.

On this one I cheated. I used Gorilla Super Glue to glue the beads. The reason? I didn't have a needle that would fit into the beads so I could sew them onto the ornament.

Here's a front photo of all three ornaments. The pink blanket background isn't very flattering.

This is the back of the ornaments.

The bottons on this one are recycled from an old blouse. They're really pretty buttons but I'm not sure they come through on the photo.

I forgot to take front/back photos of this ornament. The front button is pink. The back button is red. No reason. Just didn't have two matching red buttons.

On this one I cheated. I used Gorilla Super Glue to glue the beads. The reason? I didn't have a needle that would fit into the beads so I could sew them onto the ornament.

Here's a front photo of all three ornaments. The pink blanket background isn't very flattering.

This is the back of the ornaments.
Tuesday, December 14, 2010
Publishing Patterns
I think I just successfully created and published my first pattern on the Ravelry site. What's cool is for a little while, my pattern was displayed on the home page of the Ravelry site since it was a recent addition.
The pattern is for the following two projects:
Pink-Purple Blanket
Granny Pastel Blanket
Of course, these two projects and the pattern all lead back to my blog entries:
First baby blanket
Second Baby Blanket
The pattern is for the following two projects:
Pink-Purple Blanket
Granny Pastel Blanket
Of course, these two projects and the pattern all lead back to my blog entries:
First baby blanket
Second Baby Blanket
Second Baby Blanket
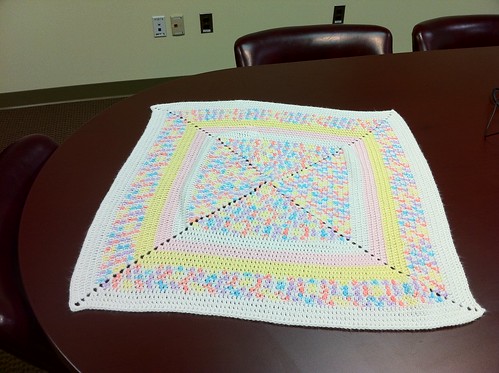
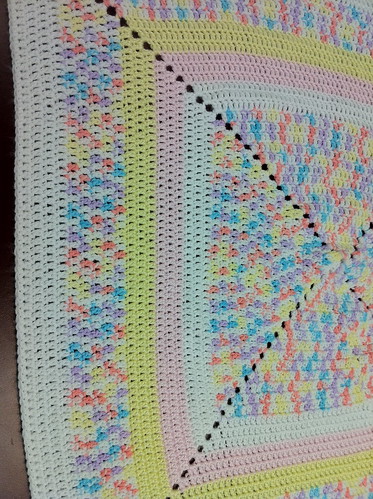
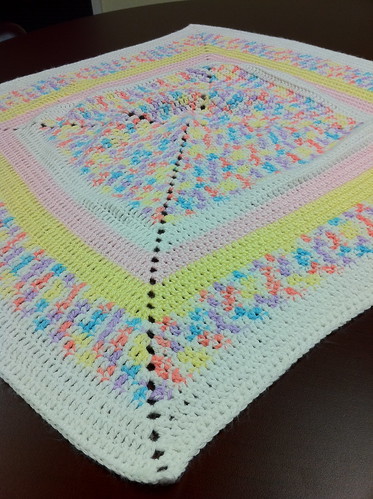
This was my second attempt at a baby blanket. The pattern for this blanket can be found in two places.
On my blog here
Or on the Ravelry site here as my first submitted pattern.
Below are pictures of the finished project.


On my blog here
Or on the Ravelry site here as my first submitted pattern.
Below are pictures of the finished project.


First Baby Blanket
I finally decided what to do with the baby blankets I have. I have two at my house and I've been looking for a recipient. A lovely mom in my Bible study group has adopted a sweet little baby girl. We had a surprise baby shower for her. I gave her one of the blankets and decided while I was there I would give her the second one the next time I see her.
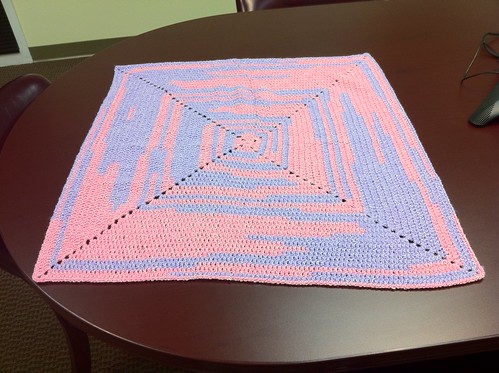
This is made using a tight granny square pattern. I'm not sure if this pattern has a name. It is a variation on the granny square though.
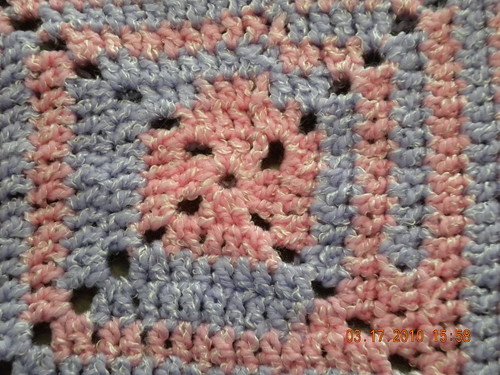
You can see from the above picture that I used a basic square pattern to start and just kept working the rounds. It's a pink/purple variegated yarn that changes from shimmering pink to shimmering purple. Although I have to admit the picture above does make it look a little blue-ish.
I don't have photos of the step by step process, but I'm going to try and include instructions here.

Hook –
H (US 4.75mm)
Legend –
DC – US Double Chain
HDC - US Half-Double Chain
SC - Single Chain
R-SC - Reverse Since SC
SL – US Slip Stitch
CH – US chain stitch
CH. 4 and join with a Sl Stich
Rnd 1: CH 3 (counts as a DC). (2DC, CH 3) and then (3DC, CH 3) 3 times. Join with a SL (12DC total)
Rnd 2: CH 3 (counts as first DC). DC in each of the next 2 DC. In the CH 3 sp – (2DC, CH 3, 2DC). DC in each DC around. Join with a SL. (28 DC total)
Rnd 3: CH 3 (counts as first DC). DC in each of the next DC. In the CH 3 sp – (2DC, CH 3, 2DC). DC in each DC around. Join with a SL. (44 DC total)
Repeat Rnd. 3 until you have the width desired. I don’t know how big or small baby blankets are supposed to be so I created 30 RNDs.
Border: I like to just create decreasing rows so I go from DC to HDC to SC to finish off. Probably imperceptible to the recipient but it’s my little thing.
Brd 1: CH 2 (counts as first HDC). HDC in each DC. I the CH 3 sp – (2HDC, CH 3, 2HDC). DC in each DC around. Join with a SL
Brd 2: CH 1. SC in each HDC around. In the CH 3 sp – (2SC, CH 1, 2SC). SC in each DC around. Join with a SL.
Weave in all the ends.
I didn't do this for this particular blanket but I usually finish my projects using a R-SC border. This is actually the final row I like to use as a border in a lot of my projects. I think a reverse SC adds a nice ribbed looking border to a project.
Optional Brd 3: CH 1. R-SC in the last SC of the round you just completed. R-SC all the way around. In the CH 3 sp - 5RSC (no Ch 3 stitches this time). Join with a SL.
For detailed instructions on creating a R-SC, watch this video.
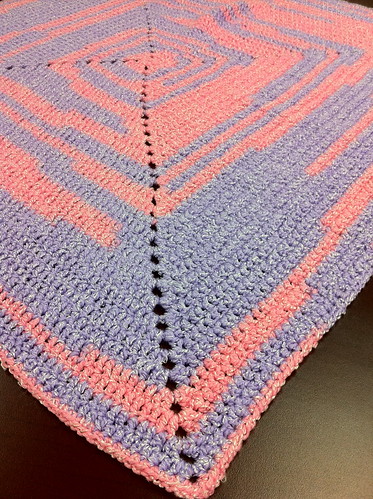
Below are two more pictures of the finished blanket close in.
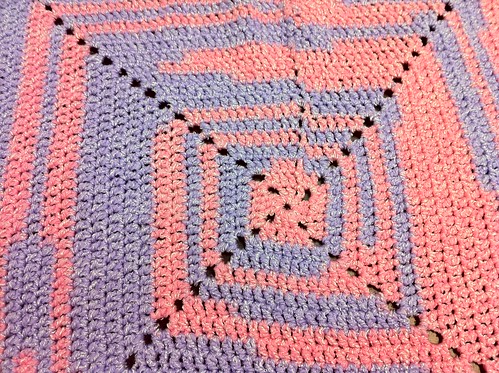

This is made using a tight granny square pattern. I'm not sure if this pattern has a name. It is a variation on the granny square though.

You can see from the above picture that I used a basic square pattern to start and just kept working the rounds. It's a pink/purple variegated yarn that changes from shimmering pink to shimmering purple. Although I have to admit the picture above does make it look a little blue-ish.
I don't have photos of the step by step process, but I'm going to try and include instructions here.

Hook –
H (US 4.75mm)
Legend –
DC – US Double Chain
HDC - US Half-Double Chain
SC - Single Chain
R-SC - Reverse Since SC
SL – US Slip Stitch
CH – US chain stitch
CH. 4 and join with a Sl Stich
Rnd 1: CH 3 (counts as a DC). (2DC, CH 3) and then (3DC, CH 3) 3 times. Join with a SL (12DC total)
Rnd 2: CH 3 (counts as first DC). DC in each of the next 2 DC. In the CH 3 sp – (2DC, CH 3, 2DC). DC in each DC around. Join with a SL. (28 DC total)
Rnd 3: CH 3 (counts as first DC). DC in each of the next DC. In the CH 3 sp – (2DC, CH 3, 2DC). DC in each DC around. Join with a SL. (44 DC total)
Repeat Rnd. 3 until you have the width desired. I don’t know how big or small baby blankets are supposed to be so I created 30 RNDs.
Border: I like to just create decreasing rows so I go from DC to HDC to SC to finish off. Probably imperceptible to the recipient but it’s my little thing.
Brd 1: CH 2 (counts as first HDC). HDC in each DC. I the CH 3 sp – (2HDC, CH 3, 2HDC). DC in each DC around. Join with a SL
Brd 2: CH 1. SC in each HDC around. In the CH 3 sp – (2SC, CH 1, 2SC). SC in each DC around. Join with a SL.
Weave in all the ends.
I didn't do this for this particular blanket but I usually finish my projects using a R-SC border. This is actually the final row I like to use as a border in a lot of my projects. I think a reverse SC adds a nice ribbed looking border to a project.
Optional Brd 3: CH 1. R-SC in the last SC of the round you just completed. R-SC all the way around. In the CH 3 sp - 5RSC (no Ch 3 stitches this time). Join with a SL.
For detailed instructions on creating a R-SC, watch this video.
Below are two more pictures of the finished blanket close in.
Subscribe to:
Posts (Atom)